Headless Installation on Raspberry Pi for DeepVibe
On a Windows Machine open this link , select Raspberry Pi for windows this will download the file: Imager_1.7.4.exe, Install the raspberry pi imager.
Use a Samsung 32GB EVO SD Card (insert card after step 3.)
once the imager is installed per the image below:
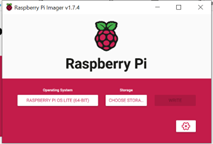
Click on Choose OS and Select > Raspberry Pi OS (Other) > Raspberry Pi OS Lite (64 Bit) then Click on > settings gear in the bottom right corner (for image customisation) then do the folowing:- Select: Set Host Name (keep default): raspberrypi.local
- Select: Enable SSH -> Select: use password authentication
- Select: Set Username & Password
- Set: Username: pi – Set: Password: rpi
- Select: Configure Wireless LAN4
- Set: SSID & Password
- Select Country : As per location
Click on > SAVE option and proceed to Click on > Write
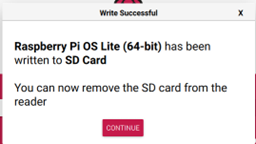
Now insert the 32GB SD Card and Select > Write : it will prompt to select the SD Card and will prompt “All data on the SD Card will be erased” select Yes to proceed. The Imager will Write and Verify the copy on the SD Card…
Find the ip address of the raspberry-pi (For more methods see here)
ping raspberrypiSSH into the R-Pi using Tera Term and Update+upgrade the OS
sudo apt update
sudo apt upgrade
Installing TDEngine
Do Tera Term to SSH into the Pi first as it saves / authenticates the device (R Pi’s) “Local Key” to the windows machine for the first time – then SSH connection happens thru VS Code
Login to Raspberry Pi thru VS Code then issue the following commands: (Reference)
mkdir tdengine
cd tdengine
wget https://www.tdengine.com/assets-download/3.0/TDengine-server-3.0.3.2-Linux-arm64.tar.gz
tar -xf TDengine-server-3.0.3.2-Linux-arm64.tar.gz
cd TDengine-server-3.0.3.2/
sudo ./install.sh -e no
sudo systemctl start taosd
sudo systemctl enable taosadapter
sudo systemctl start taosadapter
Installaing Grafana
- Follow the instructions here to install Grafana locally.
- Login to grafana and install
TDEngineplugin.
Optional configurations if required
- If you need to change the NTP server used for time sync, follow the guide here.
Setup the deep_vibe service
Create the folder structure.
mkdir ~/git
mkdir ~/git/gqc
mkdir ~/git/public
Install git.
sudo apt install gitEither setup a SSH key from github to the R-Pi and clone
linux_socket_appor SFTP thelinux_socket_apprepo to~/git/gqc/dir in the R-Pi.Plug the root node to R-Pi USB port.
Goto
~/git/gqc/linux_socket_appdirectory and setup the deep_vibe server as a service.cd ~/git/gqc/linux_socket_app
chmod 777 install_dependencies.sh setup.sh
sudo ./install_dependencies.sh
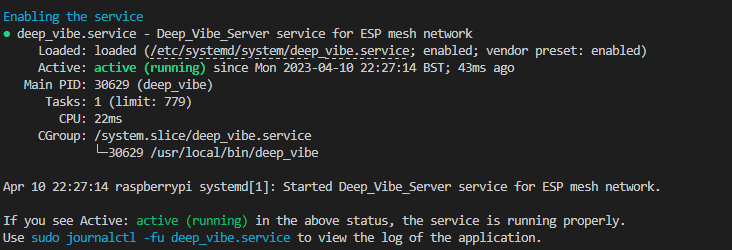
sudo ./setup.shYou should see a message like this:
Now you should see data in the DBs and Grafana dashboards (depending on what you have enabled from the code)